
This article was written as a guide to help my band with choosing the right posts to boost
The best way to reach a new audience and get them interested in our content is to choose posts that have a higher average amount of reach & engagement as other posts on the page. The highest performing posts will also perform better as paid ads, as our audience already feels engaged with it.
💡 Remember: Ads meant to find new fans are advertised to a cold audience, which mean people who have never heard about us before. It’s important to keep that in mind while choosing your post!
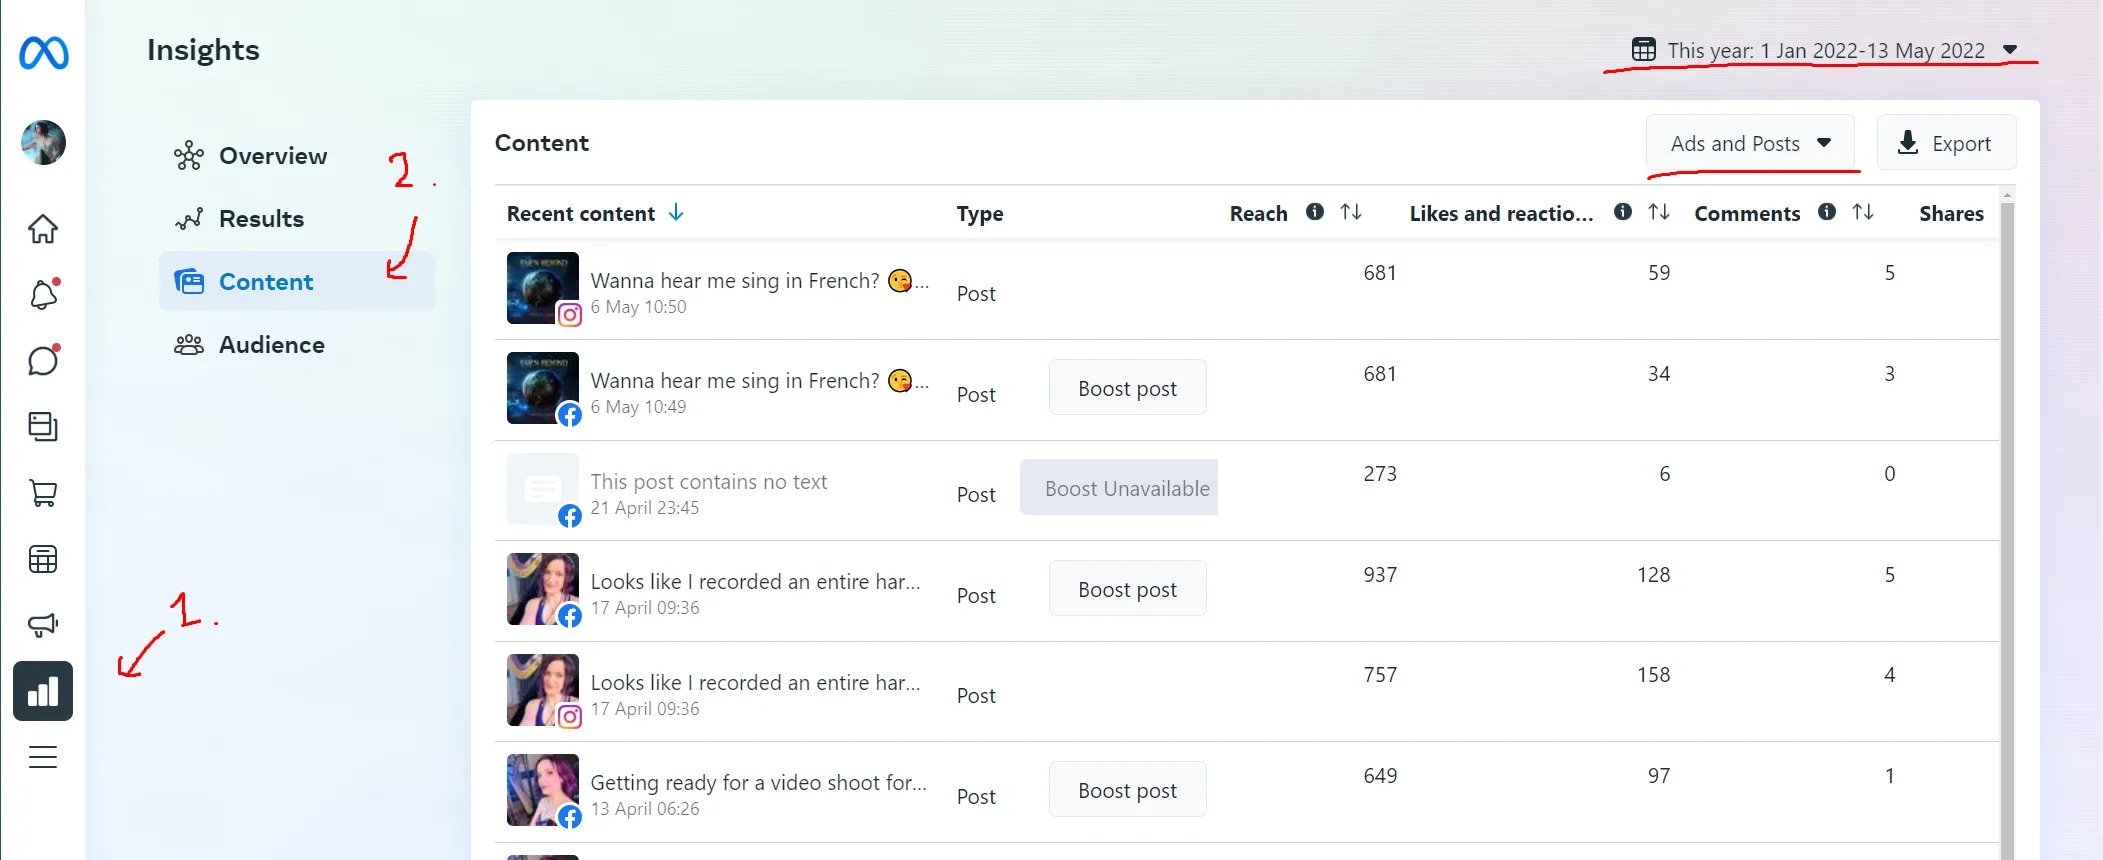
Make sure to remove stories from the selection, and also to include posts from a longer time ago. Generally speaking, posts that include videos are the best ones to pick, as videos are super engaging, and it’s possible to retarget people from how much of a particular video they have watched.
For example, this post below would be a great candidate, as it has a significant amount of organic reach and engagement. It’s also a great candidate compared to other posts with similar engagement because I have a music video, and that’s what I want people to see from me first.
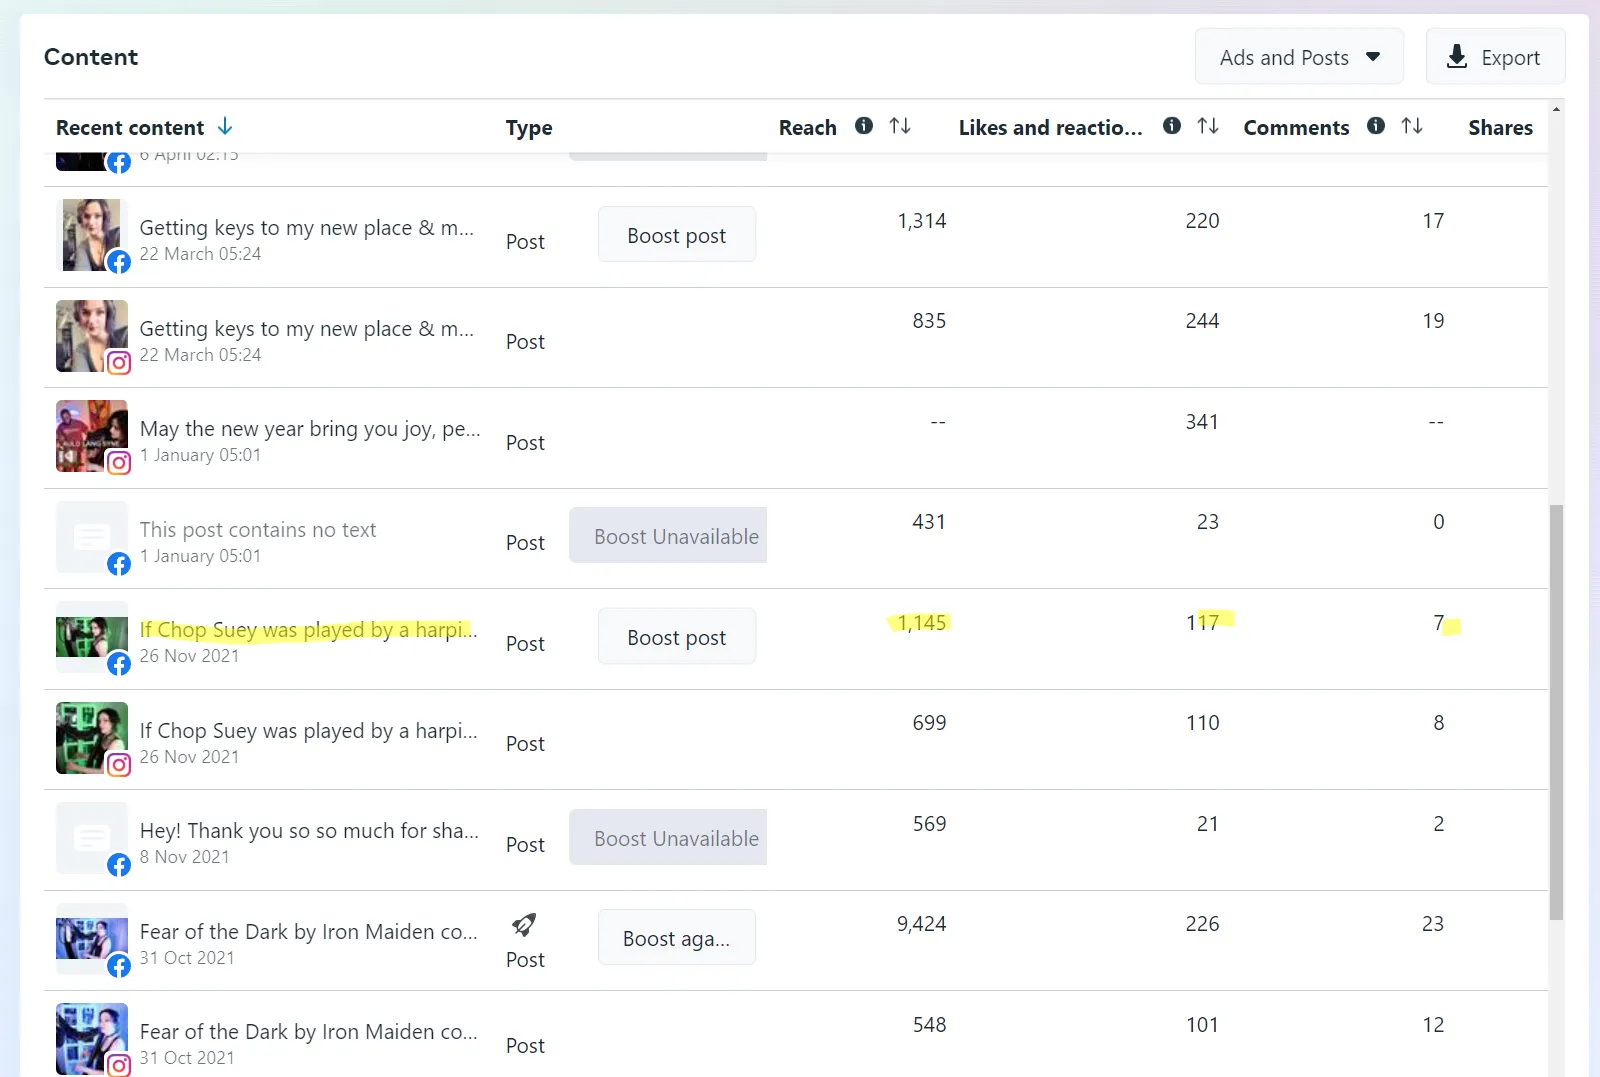
The Fear of the Dark video is also a great post, but I have to remember that the reach is because I already ran ads on it, but if I wanted to and am satisfied with the previous results I had, then boosting it again could be a great option.
💡 It’s important to remember that the people we will show this post to probably don’t know our brand yet, and so they won’t care about things like “listening to our new music” or highly personal things our core audience might care about (such as “I just received the keys to my new place”). It’s important to keep thinking about who will see it, and its relevance.
Writing an ad that is SPECIFICALLY designed for your target is the best option in most circumstances. Nailing the copy is one of the most important aspects of writing effective ads on Facebook. Read this small guide here:
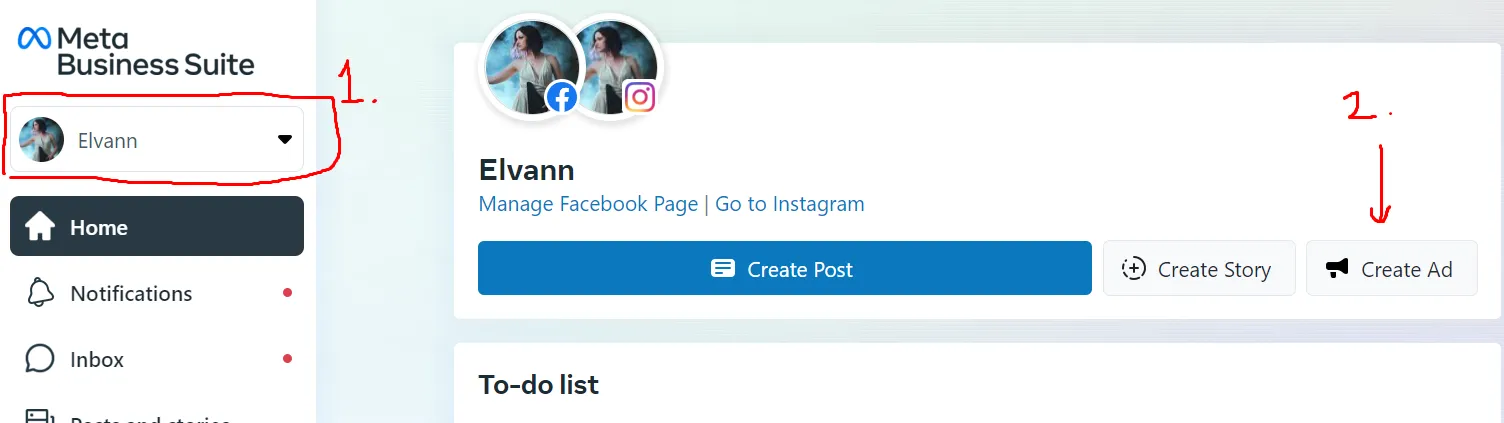
Make sure whatever post you want to boost is posted on your page before proceeding
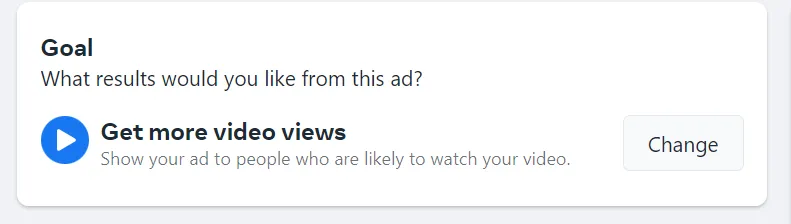
The only goals we are interested in for this kind of ad are “boosting posts”

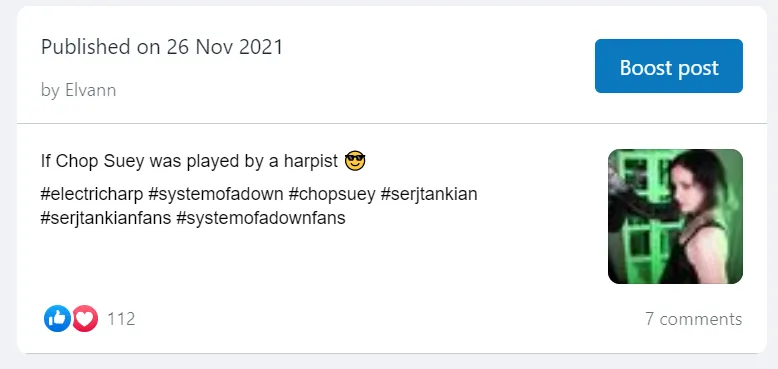
💡 PS: The copy in this specific post is actually pretty bad… try to do better than this…
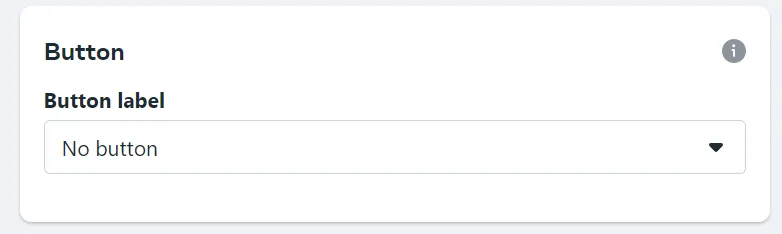
Always choose “No Button”. We want this ad to look as native as possible. We’ll use the button for our ads to warm audience.
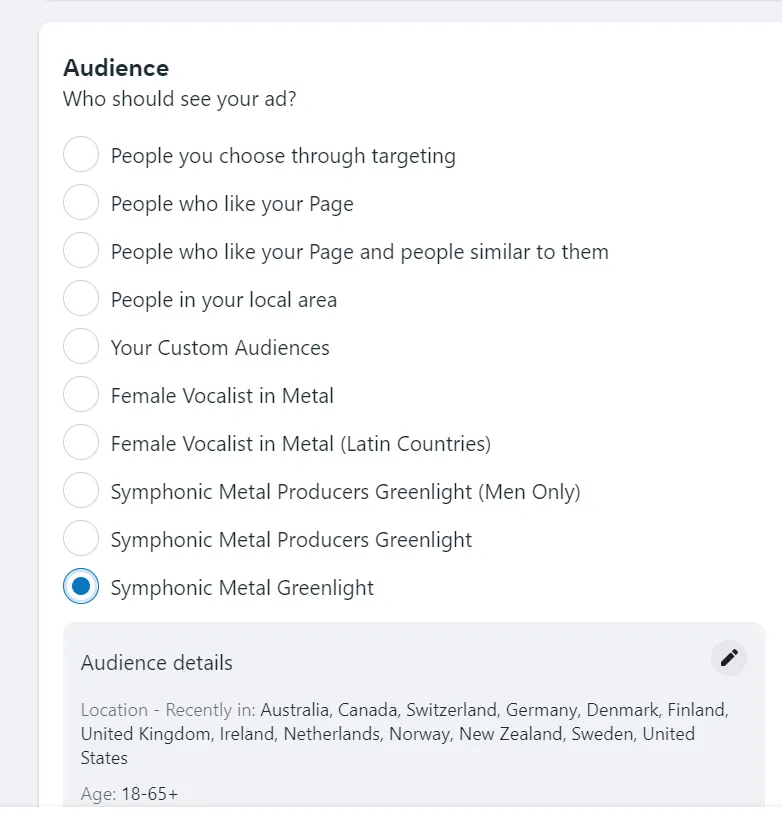
If you haven’t created an audience for this yet, follow this tutorial first and come back here: How to Create a Cold Audience on Meta/Facebook
The best kind of budget for these types of ads is generally 1e a day, for 5 to 10 days. It’s better to run an ad for 5 days for 1e/day than it is to have it run for 1 day at 5e/day , the reason for this is Facebook will have the time to really optimize for your budget. If you’re satisfied with the results you can increase the budget a bit or you can just let it run for more days.
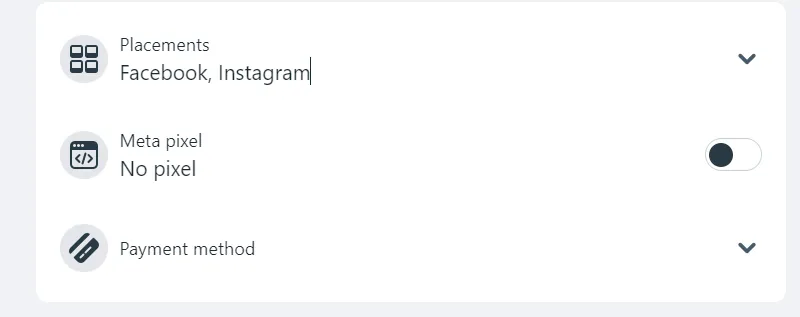
Try to run your ad for both Facebook and Instagram if you can. Facebook will decide which one brings the best result for you.
All you need to do now is click “boost”, wait for Facebook to approve it, and let it run for the duration you have decided on!